Fuji Apple Salad
This post is also available in / Esta entrada también está disponible en ESPAÑOL (SPANISH)
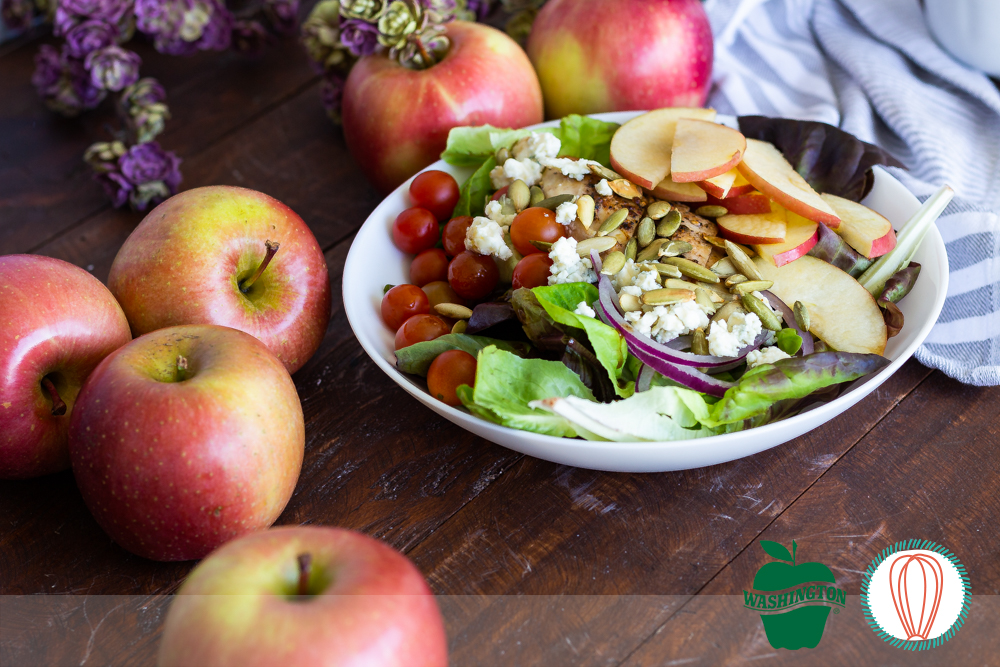
When the weather is hot and humid, we feel like having fresh meals for lunch, like this Fuji Apple Salad. It’s packed with flavor and the dressing that goes with it is made in a few minutes using olive oil and balsamic vinegar.
As a base, pick your favorite greens. We like a mix that includes butter lettuce which has a soft texture and a mild flavor that doesn’t compete with the other ingredients: Thinly sliced Washington Fuji apples, crumbled blue cheese, finely sliced red onion, and grilled chicken breast and as a crunchy element we used pepitas
The dressing is kept simple, but it’s so delicious. Olive oil, balsamic vinegar, and a little maple syrup among other ingredients.
You will love this salad, and it’s also great for Meal Prep.
Helga & Kitty
Fuji Apple Salad
Yields 2 servings
Ingredients, for the salad:
3 cups spring mix greens
1 Fuji Washington Apple, sliced or chopped
2 grilled chicken breasts
¼ cup crumbled blue cheese
¼ red onion, thinly sliced
¼ cup cherry tomatoes, halved
¼ cup pepitas
Ingredients, for the vinaigrette:
½ cup extra-virgin olive oil
4 Tablespoons balsamic vinegar
½ Tablespoon maple syrup + more to taste
1 clove fresh garlic minced, or ¼ teaspoon garlic powder
½ teaspoon salt
¼ teaspoon ground pepper
Preparation:
- Season the chicken breasts liberally with salt and pepper. Preheat your grill pan to medium-high heat, spray or coat with a little oil, and place your chicken on the hot surface. Grill for 7-8 minutes, flip and cook an additional 7-8 minutes or until the interior temperature of the chicken reaches 165ºF. Let rest a few minutes before slicing to make sure the chicken stays nice and juicy.
- Divide greens among two individual plates and top with remaining ingredients.
- For the dressing, whisk together all ingredients in a glass bowl or mason jar, and shake to combine.
- Taste and add additional maple syrup, if desired.
- Drizzle over the salad and enjoy. Store dressing in an airtight container in the fridge. It should last for two weeks.
Have you made this recipe?
Please let me know how it turned out for you! Leave a comment below and share a picture with the hashtag #thefoodieskitchen!
Want more?
You can subscribe to our newsletter and we’ll send you the monthly recipes! You can also keep up to date on Facebook, Twitter, Instagram, Pinterest, or Tumblr.
© 2023, The Foodies’ Kitchen. All rights reserved | Todos los derechos reservados
This post is also available in / Esta entrada también está disponible en ESPAÑOL (SPANISH)


