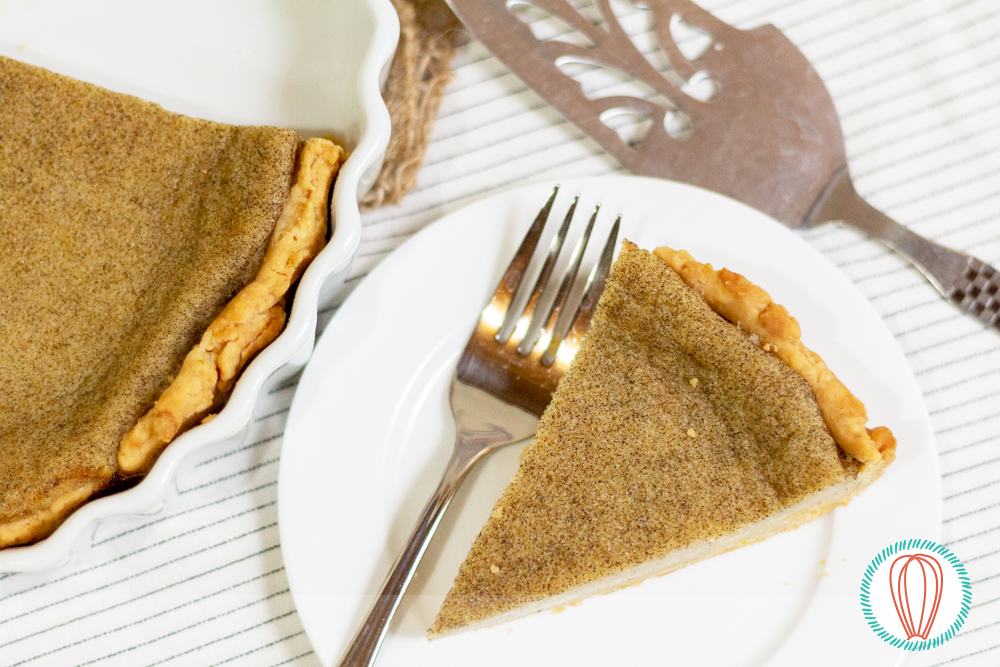
Buttermilk Pie
This post is also available in / Esta entrada también está disponible en ESPAÑOL (SPANISH)
This recipe has been in my drafts for quite a while. I originally made it a few years ago, for a family gathering to serve as a dessert and I’ve been making this recipe every time I have the chance to get my hands on some buttermilk. If you can’t get buttermilk at the store, you can make your own at home.
I am not the best when making pies, but I am surely the most enthusiastic. Both my grandmothers excelled at it, just stroking the dough a few times and always got the perfect circle (or that’s who I saw it!). I’ve tried Apple Hand Pies, Pinepple Pie, Calamansi Pie, Mixed Berries Pie, Vegetable & Tuna Pie and a Rhubarb & Strawberry Pie. But… I have never tried baking a custard-like pie as this one (except the Pumpkin Pie) before that December.
After a few times of baking the pie, I’ve come to the conclusion that for the pie to come put perfectly, it’s best to pass the filling through a sieve before adding it to the pie shell. And don’t be scared of the pie coming out puffed up. As it cools down, it will sink back into its own.
Kitty
Buttermilk Pie
Yields: 8 servings
Recipe adapted from: Martha Stewart
Ingredients:
3 large eggs, room temperature
1 cup brown sugar
1 teaspoon vanilla beans (or vanilla extract)
3 tablespoons all-purpose flour
½ teaspoon ground nutmeg
1 ½ cups buttermilk, room temperature
½ cup unsalted butter, melted and cooled
1 pie crust, fitted into a 9-inch pie plate, well chilled
Directions:
- Preheat oven to 425ºF.
- In a bowl, whisk together the eggs, sugar and vanilla.
- In a separate bowl mix the nutmeg and the flour. Combine with the eggs mixture.
- Whisk in buttermilk and melted cool butter in 2 parts, alternating between the two and mixing throughly.
- Pour filling into crust through a sieve. Bake 15 minutes at 425ºF.
- Reduce heat to 325ºF. Cover pie loosely with foil. Bake until filling is set, 35 to 40 minutes.
- Transfer to a wire rack, and let cool. Serve at room temperature.
Have you made this recipe?
Please let me know how it turned out for you! Leave a comment below and share a picture with the hashtag #thefoodieskitchen!
Want more?
You can subscribe to our newsletter and we’ll send you the monthly recipes! You can also keep up to date on Facebook, Twitter, Instagram, Pinterest or Tumblr.
© 2019 – 2020, The Foodies’ Kitchen. All rights reserved | Todos los derechos reservados
This post is also available in / Esta entrada también está disponible en ESPAÑOL (SPANISH)


