Pumpkin Cake with Brown Butter Icing
This post is also available in / Esta entrada también está disponible en ESPAÑOL (SPANISH)
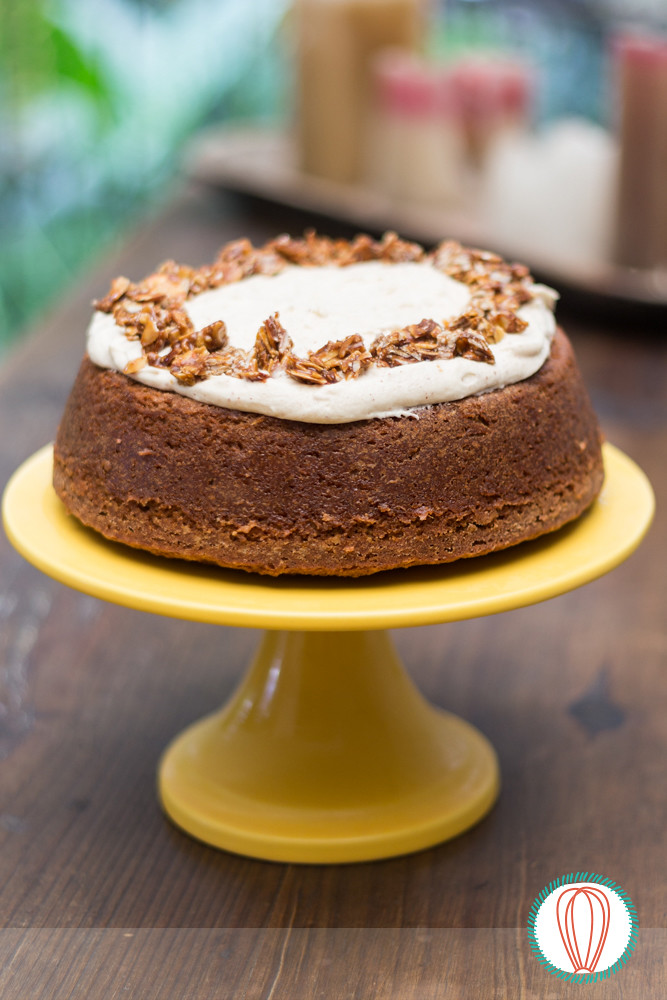
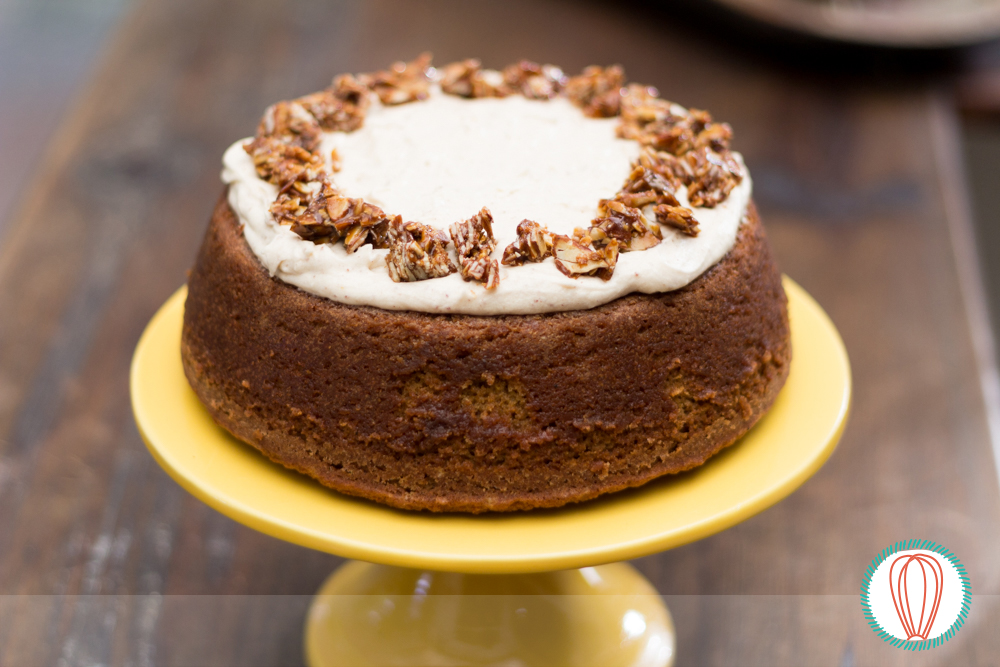
So this is a discovery. A completely different flavor profile that I was not aware completely. I love browning butter, but using it for buttercream is game changer. The spicy spongy pumpkin cake with the nutty bits and flavors of the Brown Butter Icing… a winning combination! It just goes oh so well together.
Now, I am one of those persons that usually shies away from caramel. This time, don’t ask me why, I decided to go all out. I knew I had to work fast, and why not… use brown sugar for the caramel. Again, no idea why I decided to do it… but amazing results. Before you start this step I suggest you:
- Set up your silicone mat over a baking sheet and have it ready for the caramelized almonds. Caramel hardens. FAST.
- Measure your almonds and have them by the baking sheet.
- Next to the baking sheet also set up a kitchen towel over your counter (where you’ll place the small skillet to mix the almonds).
- Use a wooden spoon to avoid melting your silicone ones. Caramel is HOT.
Bellow you can see the pictures of the sugar starting to caramelize (barely by the edges), then more heat getting to the caramel’s center, so I turned the heat off, and carefully swirled the melted sugar until I saw no remaining granules.
I moved the skillet next to the silicone mat/baking sheet. Added the slivered almonds, mixed it until they were coated completely and immediately transferred them to the silicone mat and arranged them as flat as I could working quickly. You’ll break off the pieces later for decoration of the pumpkin cake.
Ahh, and the beauty is that I only used 1 cup of pumpkin puré e, that way I could bake this month’s recipe for the #GuateBakers brunch organized by TBR Magazine: Pumpkin Nutella Bars! We’ll share the recipe next week.
The best thing about this #Guatebakers meet-up, is that turned out I won Guatebaker of the month! Mariade, one of the founders of TBR, loves to quiz us every time we get together. At the end, there was a 3-way tie for the first place, sharing the podium with @lacookieteria and @nuttybeargt, but the question to break it off was How to make a mousse? I quickly ran through the very basic steps of this Julia Child recipe we posted last year. And that was it!
I got a great prize: Cake Love: How to bake cakes from Scratch by Warren Brown. I am looking forward to baking many cakes from this gem. His Italian Meringue Buttercream was one of the first videos we saw with Helga when first figuring out to make Italian Meringue Buttercream. Thank you so much for the amazing gift (and the cute little pumpkin spatula) 💛
Kitty
Pumpkin Cake with Brown Butter Icing
Recipe adapted from Martha Stewart
10 servings
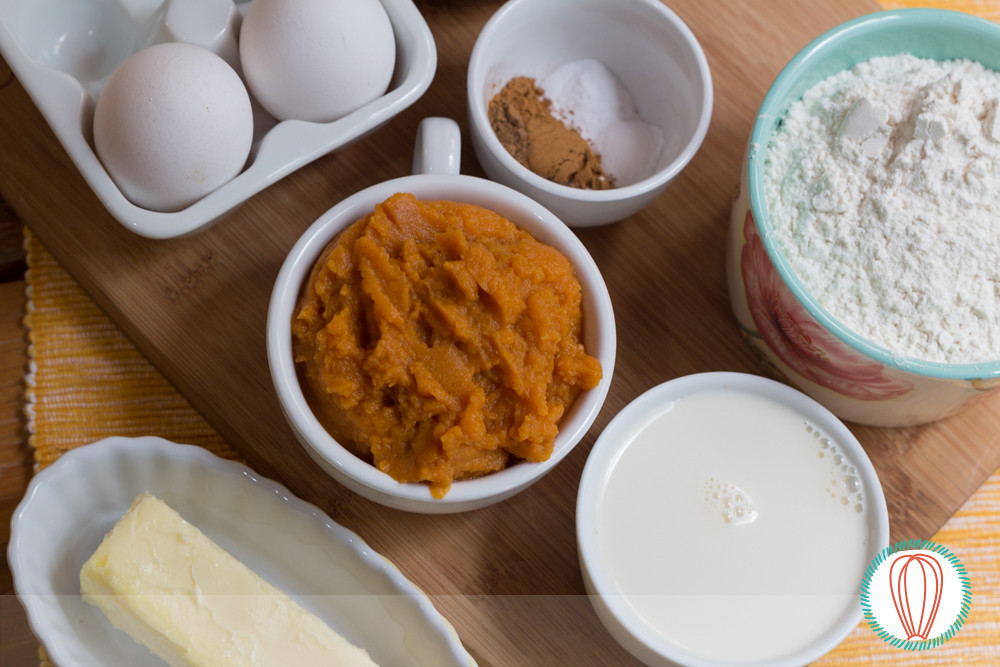
Ingredients, for the cake:
8 tablespoons unsalted butter, room temperature
1 ½ cups sugar
1 ⅔ cups all-purpose flour
1 teaspoon ground cinnamon
¼ teaspoon ground nutmeg
¼ teaspoon ground all-spice
½ teaspoon salt
½ teaspoon baking powder
½ teaspoon baking soda
2 eggs
1 cup of canned pumpkin purée
½ cup warm milk
Ingredients, for the caramelized almonds:
½ cup brown sugar
1 cup of slivered almonds
Ingredients, for the brown butter icing:
4 tablespoons unsalted butter
1 cup sifted confectioners’ sugar
1 teaspoon pure vanilla extract
1 to 2 tablespoons milk
Directions:
- To make the cake, heat the oven to 350ºF and butter a 8-by-2-inch round cake pan, line the bottom of the pan with parchment paper, and butter once again. Coat pan with flour, tapping the excess out.
- Sift together the all-purpose flour, cinnamon, nutmeg, all-spice, salt, baking powder, and baking soda.
- In the bowl of an electric mixer fitted with the paddle attachment, beat sugar and butter together until light and fluffy, about 2 minutes.
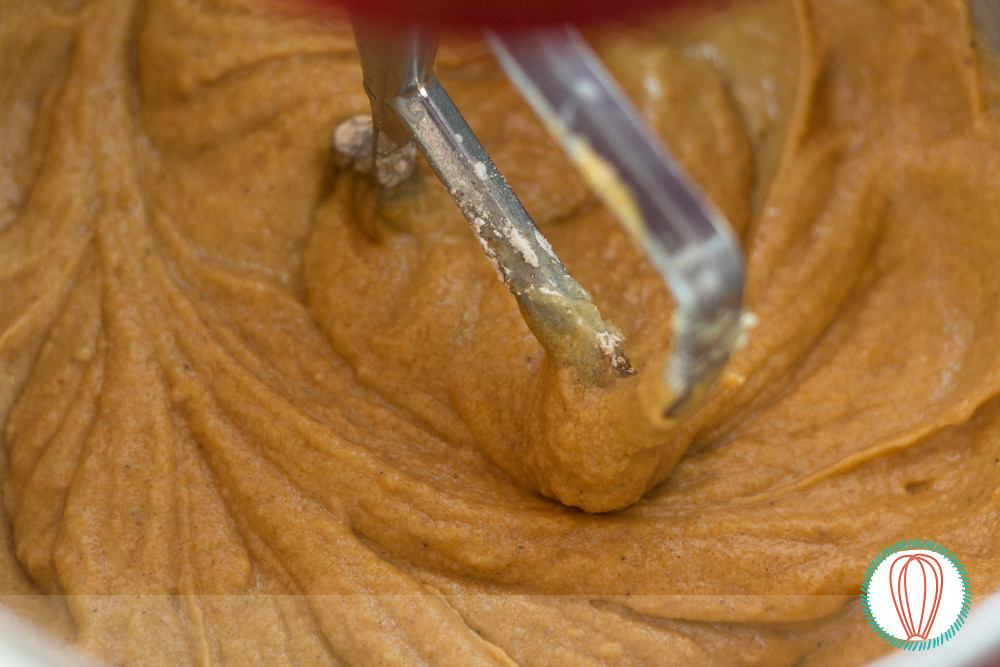
- Add eggs one by one, and beat until combined. Add pumpkin puree and milk; beat until combined. The mix will look curdled. Don’t worry.
- Add sifted flour mixture; beat on low-speed until just combined.
- Pour batter into prepared pan, smoothing the top of the cake.
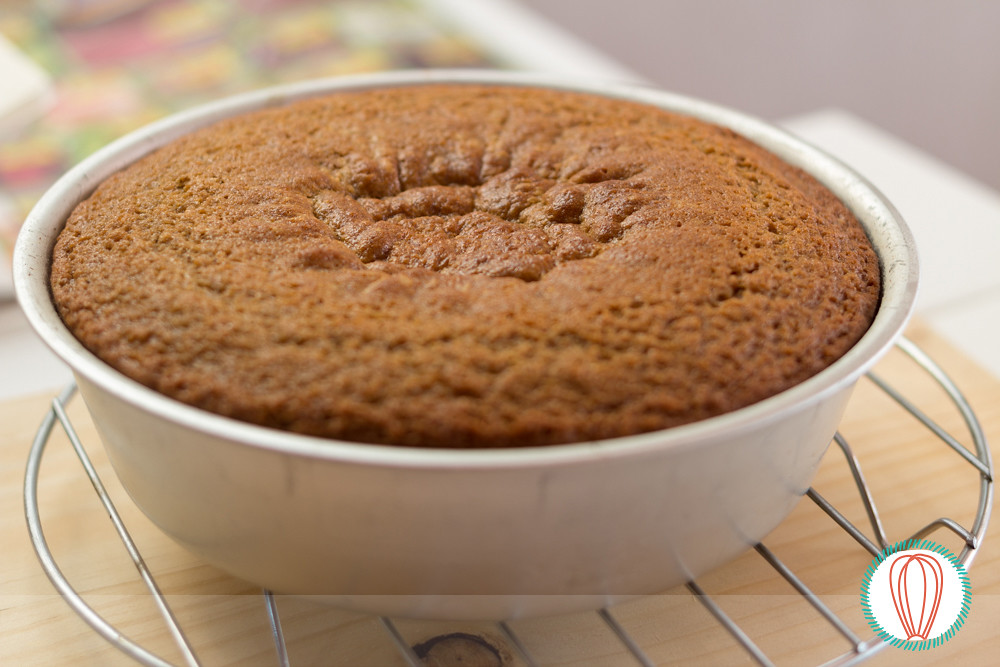
- Bake for about 55 minutes, or until a cake tester inserted into the middle comes out clean.
- Transfer the cake to a wire rack to cool. Let cake rest 20 minutes. Run a thin plastic or silicone spatula over the edges of the cake and unmold the cake over a wire rack. Cool completely before icing.
- To make the caramelized almonds, prepare your work area. Set up your silicone mat over a baking sheet and have it ready for the caramelized almonds. Measure your almonds and have them by the baking sheet. Next to the baking sheet set up a kitchen towel over your counter (where you’ll place the small skillet to mix the almonds). Have a wooden spoon ready to mix the almonds in.
- First, melt sugar in a small skillet over medium-high heat until medium golden, about 3 minutes.
- Remove skillet from heat. Working quickly, place the skillet over the kitchen towel you have next to the baking sheet and drop slivered almonds into the melted sugar, mixing with the wooden spoon. If the sugar hardens, return skillet to low heat, and stir until the caramel softens. Mix until the almonds are covered completely. Transfer the almonds to a silicone mat to cool completely.
- After they’ve cooled, break cut them with a star knife into small pieces.
- To make the brown butter frosting, melt butter in a small pan over low-medium heat until nut-brown in color, about 5 minutes. Remove pan from heat, and pour butter into a bowl, along with the sediments. Cool until it’s at room temperature before making the buttercream.
- Add the room temperature brown butter to the bowl of an electric mixer fitted with the whisk attachment, along with the sugar, vanilla, and 1 tablespoon milk. Mix for about 3 minutes in high-speed until it turns light and fluffy. If the icing is too thick, add the remaining tablespoon milk, a little at a time, until consistency is spreadable.
- Using an offset spatula, spread icing over top of cake, and decorate with caramelized almonds.
Have you made this recipe?
Please let me know how it turned out for you! Leave a comment below and share a picture with the hashtag #thefoodieskitchen!
Want more?
You can subscribe to our newsletter and we’ll send you the monthly recipes! You can also keep up to date on Facebook, Twitter, Instagram, Pinterest or Tumblr.
© 2016 – 2020, The Foodies’ Kitchen. All rights reserved | Todos los derechos reservados
This post is also available in / Esta entrada también está disponible en ESPAÑOL (SPANISH)

