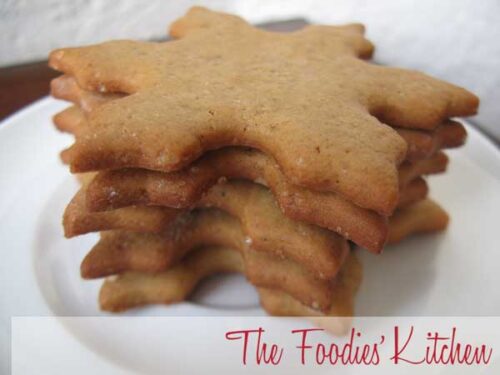
Snowflake Gingerbread Cookies
This post is also available in / Esta entrada también está disponible en ESPAÑOL (SPANISH)
I always end up making Gingerbread Cookies because my mom likes them so much, and I do love how my kitchen (whole apartment) smells when I bake them. I tried this recipe this year, which only varies in the amount of molasses from last year’s recipe. Either one of the recipes are delicious, but of course these do taste a bit more like molasses…personally, I like them better.
Helga
Gingerbread Cookies
Makes 60 cookies
Recipe from All Recipes
Ingredients:
3 cups all-purpose flour
¼ teaspoons salt
¾ teaspoon baking soda
2 teaspoons ground ginger
1 teaspoon ground cinnamon
¼ teaspoon ground nutmeg
¼ teaspoon ground cloves
½ cup unsalted butter, room temperature
½ cup granulated white sugar
1 large egg
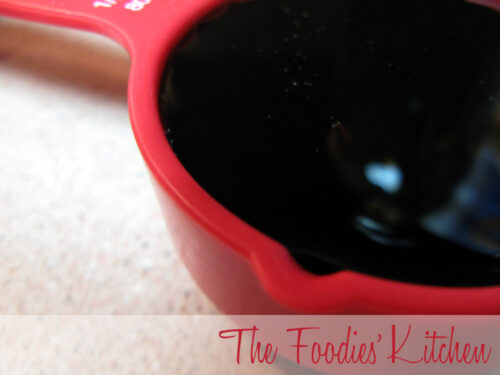
⅔ cup molasses
Procedure:
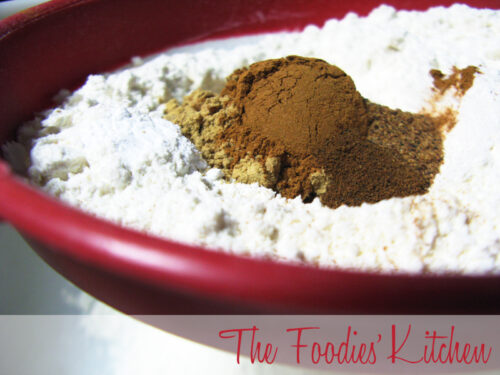
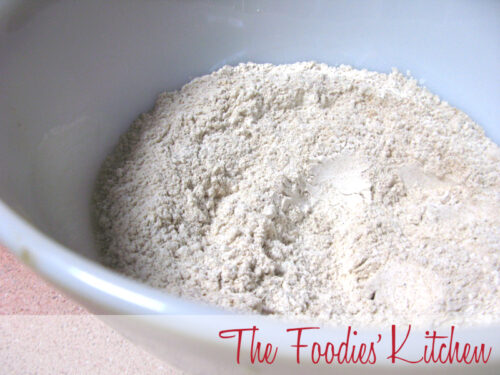
- In a large bowl, sift or whisk together the flour, salt, baking soda, and spices.
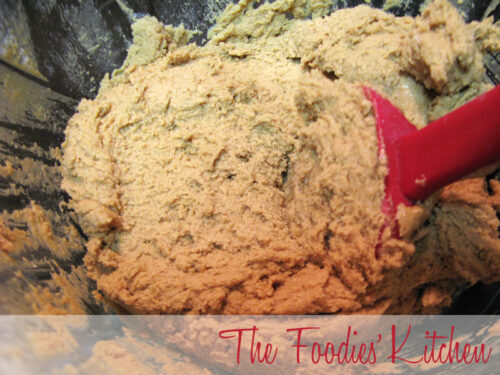
- In the bowl of your electric mixer (or with a hand mixer), beat the butter and sugar until light and fluffy. Add the egg and molasses and beat until well combined.
- Gradually add the flour mixture beating until incorporated.Divide the dough in half, and wrap each half in plastic wrap and refrigerate for at least two hours or overnight.
- Preheat oven to 350 degrees F (177 degrees C) and place rack in center of oven. Line two baking sheets with parchment paper and set aside while you roll out the dough.
- On a lightly floured surface, roll out the dough to a thickness of about 1/4 inch. Use a floured cookie cutter to cut out the cookies. With an offset spatula lift the cut out cookies onto the baking sheet, placing the cookies about 1 inch (2.54 cm) apart.
- Bake for about 8 – 12 minutes depending on the size of the cookies. Small ones will take about 8 minutes, larger cookies will take about 12 minutes. They are done when they are firm and the edges are just beginning to brown.
- Remove the cookies from the oven and cool on the baking sheet for about 1 minutes. When they are firm enough to move, transfer to a wire rack to cool completely.
Have you made this recipe?
Please let me know how it turned out for you! Leave a comment below and share a picture with the hashtag #thefoodieskitchen!
Want more?
You can subscribe to our newsletter and we’ll send you the monthly recipes! You can also keep up to date on Facebook, Twitter, Instagram, Pinterest or Tumblr.

© 2011 – 2020, The Foodies’ Kitchen. All rights reserved | Todos los derechos reservados
This post is also available in / Esta entrada también está disponible en ESPAÑOL (SPANISH)

